草莓雪花酥
- 其它工艺

- 奶香味

- <30分钟

- 初级入门

网红是雪花酥,虽然是属于烘焙美食,但它用一口不粘锅就可以轻松搞定了,制作简单方便,几乎是没有难度的,是一款特别适合新手制作的零食,而且不用担心没有烤箱哦。今天这款雪花酥不是用的圆柱型的棉花糖,而是用的fluff的液态的棉花糖,选用的焦糖口味的,我比较喜欢这款棉花糖,感觉成品更好吃些。买了冻干的草莓片,配上坚果,吃起来甜里透酸,甜里还带香,香甜酥脆,奶香十足,是很好吃的一款雪花酥,就是成本高点,哈哈,反正自己吃也是不计成本的。
展开
草莓雪花酥营养建议
-
含糖量 20.72克高血糖 尽量不吃
-
高血脂 尽量不吃
-
高血压 尽量不吃
-
减肥 尽量不吃
-
儿童 控制少吃
草莓雪花酥的食材2人份
- 小饼干140克
- 液态棉花糖150克
- 黄油450克
- 全脂奶粉50克
- 冻干草莓干30克
- 腰果40克
- 花生米20克
- 南瓜子仁20克
展开
草莓雪花酥的做法
1

备好所有食材
2

腰果和花生米都是自己炒熟的,是原味的,南瓜子仁直接用的生的。想炒熟也行,我喜欢用生的
3

干果放入保鲜袋中,用擀面杖牙成碎粒
4

把饼干、干果碎和草莓片放一起混合
5

用不粘锅,先把黄油放入中小火融化
6

放入棉花糖
7

依然中小火翻炒,让棉花糖和黄油融合
8

放入奶粉
9

翻炒至完全混合均匀
10

倒入混合好的食材
11

关火翻拌均匀
12

倒在油布上反复按压让食材和糖混合的更均匀,然后压扁
13

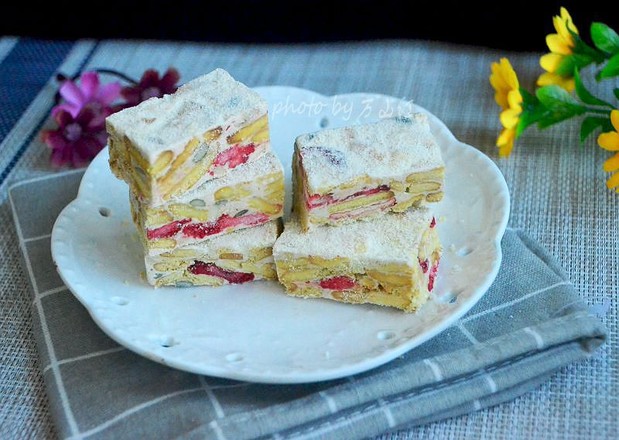
放入牛轧糖的烤盘中用擀面杖擀压让其成形,两面都均匀撒上干的奶粉
14

晾凉后用尺竿比着切成大小均匀的块
15

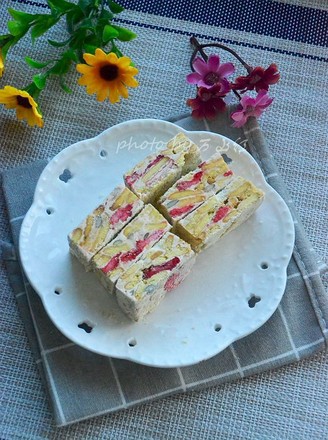
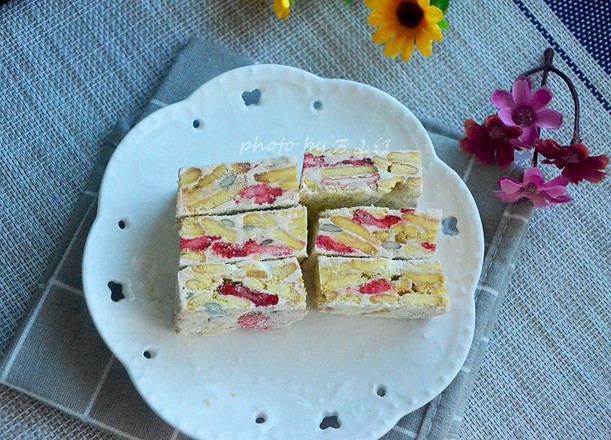
看看切面,饼干层次分明,还有红色的草莓干点缀期间,是一款很好吃的雪花酥哦,喜欢的亲们也动手试试吧
16

如果要送人就用盒子装起来,就可以做伴手礼啦
成品图


草莓雪花酥的烹饪技巧
一定要用不粘锅哦,普通炒锅会沾到锅上,那就悲催啦
我用的液态棉花糖,没有的话可以等量换成圆柱型的固体棉花糖
我只做了半盘,如果想做一整盘食材用量加倍即可
版权声明:
除非特别标注,否则均为本站原创文章,转载时请以链接形式注明文章出处。
草莓雪花酥标签:草莓雪花酥的做法 草莓雪花酥的家常做法 草莓雪花酥 草莓雪花
相关文章


快乐的猫
评论列表
真的是厉害啊,爱了爱了
2021年06月15日 13:07